
如何用 JavaScript 构建公共匿名聊天应用程序
介绍
我们都熟悉即时通讯,并用它来与人实时聊天。但有时,我们可能需要一款允许我们匿名向朋友发送消息或与附近的陌生人匿名聊天的应用。Truth 就是这样一款应用,它允许您与联系人列表中的人交谈而不泄露您的身份。
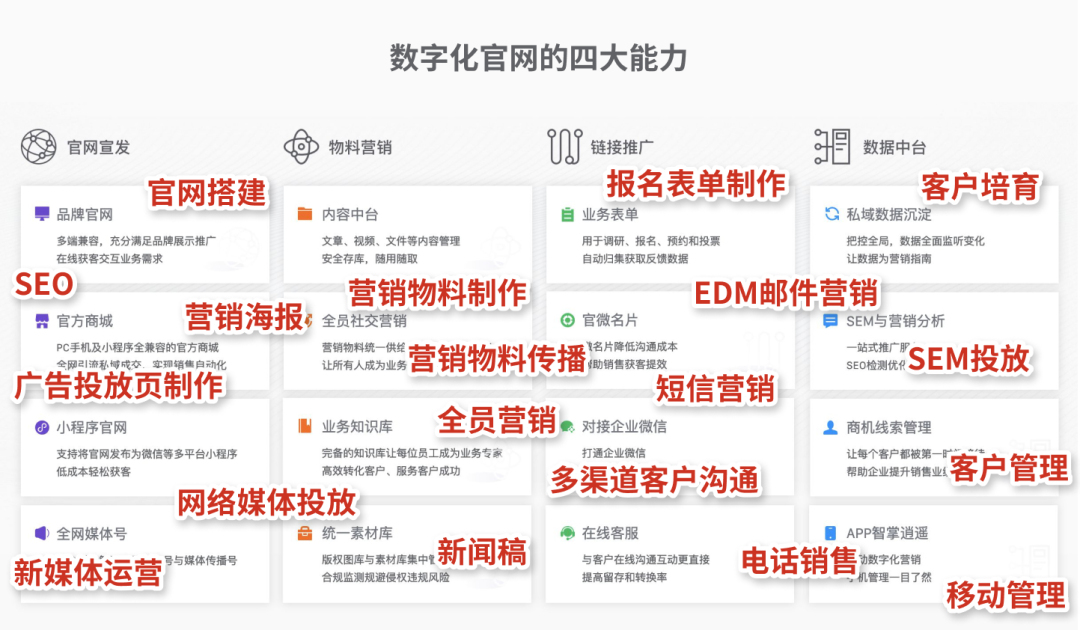
在本教程中,我将向您展示如何使用 JavaScript(在服务器上使用 NodeJS 和 Express,在客户端上使用 VanillaJS)和 Pusher 构建公共匿名聊天应用程序。 Pusher 允许我们构建可扩展且可靠的实时应用程序,并且由于我们需要实时传递聊天消息,因此这是聊天应用程序的关键组件。下图描述了我们将要构建的内容:

入门
首先,注册一个免费的 Pusher 帐户(如果您已有帐户,请登录)。登录后,从仪表板创建一个新的 Pusher 应用,并记下您的应用 ID、密钥和密码,这些都是应用独有的。
要创建新的 Pusher 应用,请点击“您的应用”侧面菜单,然后点击抽屉下方的“创建新应用”按钮。这将打开设置向导。
- 输入应用程序的名称。在本例中,我将其命名为“聊天”。
- 选择一个集群。
- 如果您想要为开发、暂存和生产设置不同的实例,请选择“为多个环境创建应用程序”选项。
- 选择Vanilla JS作为前端,选择NodeJS作为后端。
- 单击“创建应用程序”按钮设置您的应用程序实例,完成该过程。

编写服务器代码
我们需要一个后端来提供我们的静态文件、接受来自客户端的消息并通过 Pusher 向其他连接的客户端广播。我们的后端将用 NodeJS 编写,因此我们需要对其进行设置。
我们需要一个package.json文件,我将通过运行以下命令来添加它。我将使用每次提示时按Enter提供的默认值。
$ npm init
添加package.json文件后,我将安装Express、body-parser和Pusher npm 包。运行以下命令
$ npm install --save pusher express body-parser
安装这些软件包后,让我们添加一个名为server.js的新文件,内容如下
      var express = require('express');
var bodyParser = require('body-parser');
var Pusher = require('pusher');

var app = express();
app.use(bodyParser.json());
app.use(bodyParser.urlencoded({ extended: false }));

var pusher = new Pusher({ appId: "APP_ID", key: "APP_KEY", secret:  "APP_SECRET", cluster: "APP_CLUSTER" });

app.post('/message', function(req, res) {
  var message = req.body.message;
  pusher.trigger( 'public-chat', 'message-added', { message });
  res.sendStatus(200);
});

app.get('/',function(req,res){
     res.sendFile('/public/index.html', {root: __dirname });
});

app.use(express.static(__dirname + '/public'));

var port = process.env.PORT || 5000;
app.listen(port, function () {
  console.log(`app listening on port ${port}!`)
});
通过上面的代码,我们定义了一个端点/message,客户端将使用它通过 Pusher 向另一个客户端发送它想要的消息。其他路由用于提供稍后添加的静态文件。
将占位符字符串 App ID、Secret 和 Key 替换为 Pusher 仪表板中的值。
在我们的package.json文件的脚本属性中添加此语句"start": "node server.js" 。这将允许我们在运行npm start时启动服务器
构建前端
转到前端,让我们添加一个名为public 的新文件夹。此文件夹将包含我们的页面和 JavaScript 文件。添加一个名为style.css的新文件,其中包含以下内容,它将保存我们对页面的样式定义。
      @import url("http://netdna.bootstrapcdn.com/font-awesome/4.0.3/css/font-awesome.css");
.chat
{
    list-style: none;
    margin: 0;
    padding: 0;
}

.chat li
{
    margin-bottom: 10px;
    padding-bottom: 5px;
    border-bottom: 1px dotted #B3A9A9;
}

.chat li.left .chat-body
{
    margin-left: 60px;
}

.chat li.right .chat-body
{
    margin-right: 60px;
}


.chat li .chat-body p
{
    margin: 0;
    color: #777777;
}

.panel .slidedown .glyphicon, .chat .glyphicon
{
    margin-right: 5px;
}

.body-panel
{
    overflow-y: scroll;
    height: 250px;
}

::-webkit-scrollbar-track
{
    -webkit-box-shadow: inset 0 0 6px rgba(0,0,0,0.3);
    background-color: #F5F5F5;
}

::-webkit-scrollbar
{
    width: 12px;
    background-color: #F5F5F5;
}

::-webkit-scrollbar-thumb
{
    -webkit-box-shadow: inset 0 0 6px rgba(0,0,0,.3);
    background-color: #555;
}
添加另一个名为index.html 的文件,并添加以下标记。
      <!DOCTYPE html>
<html>
<head>
    <!-- Latest compiled and minified CSS -->
    <link rel="stylesheet" href="https://maxcdn.bootstrapcdn.com/bootstrap/3.3.7/css/bootstrap.min.css" integrity="sha384-BVYiiSIFeK1dGmJRAkycuHAHRg32OmUcww7on3RYdg4Va+PmSTsz/K68vbdEjh4u" crossorigin="anonymous">

    <!-- Optional theme -->
    <link rel="stylesheet" href="https://maxcdn.bootstrapcdn.com/bootstrap/3.3.7/css/bootstrap-theme.min.css" integrity="sha384-rHyoN1iRsVXV4nD0JutlnGaslCJuC7uwjduW9SVrLvRYooPp2bWYgmgJQIXwl/Sp" crossorigin="anonymous">

    <script
        src="https://code.jquery.com/jquery-2.2.4.min.js"
        integrity="sha256-BbhdlvQf/xTY9gja0Dq3HiwQF8LaCRTXxZKRutelT44="
        crossorigin="anonymous"></script>

    <!-- Latest compiled and minified JavaScript -->
    <script src="https://maxcdn.bootstrapcdn.com/bootstrap/3.3.7/js/bootstrap.min.js" integrity="sha384-Tc5IQib027qvyjSMfHjOMaLkfuWVxZxUPnCJA7l2mCWNIpG9mGCD8wGNIcPD7Txa" crossorigin="anonymous"></script>

    <link rel="stylesheet" href="style.css">
    <script src="https://js.pusher.com/4.0/pusher.min.js"></script>
    <script src="index.js"></script>
</head>
<body>
    <div class="container">
    <div class="row form-group">
        <div class="col-xs-12 col-md-offset-2 col-md-8 col-lg-8 col-lg-offset-2">
            <div class="panel panel-primary">
                <div class="panel-heading">
                    <span class="glyphicon glyphicon-comment"></span> Anonymous Chat
                    <div class="btn-group pull-right">
                        <button type="button" class="btn btn-default btn-xs dropdown-toggle" data-toggle="dropdown">
                            <span class="glyphicon glyphicon-chevron-down"></span>
                        </button>
                        <ul class="dropdown-menu slidedown">
                            <li><a href="http://www.jquery2dotnet.com"><span class="glyphicon glyphicon-refresh">
                            </span>Refresh</a></li>
                            <li><a href="http://www.jquery2dotnet.com"><span class="glyphicon glyphicon-ok-sign">
                            </span>Available</a></li>
                            <li><a href="http://www.jquery2dotnet.com"><span class="glyphicon glyphicon-remove">
                            </span>Busy</a></li>
                            <li><a href="http://www.jquery2dotnet.com"><span class="glyphicon glyphicon-time"></span>
                                Away</a></li>
                            <li class="divider"></li>
                            <li><a href="http://www.jquery2dotnet.com"><span class="glyphicon glyphicon-off"></span>
                                Sign Out</a></li>
                        </ul>
                    </div>
                </div>
                <div class="panel-body body-panel">
                    <ul class="chat">

                    </ul>
                </div>
                <div class="panel-footer clearfix">
                    <textarea id="message" class="form-control" rows="3"></textarea>
                    <span class="col-lg-6 col-lg-offset-3 col-md-6 col-md-offset-3 col-xs-12" style="margin-top: 10px">
                        <button class="btn btn-warning btn-lg btn-block" id="btn-chat">Send</button>
                    </span>
                </div>
            </div>
        </div>
    </div>
</div>

<script id="new-message-other" type="text/template">
    <li class="left clearfix">
        <span class="chat-img pull-left">
            <img src="http://placehold.it/50/55C1E7/fff&text=U" alt="User Avatar" class="img-circle" />
        </span>
        <div class="chat-body clearfix">
            <p>
                {{body}}
            </p>
        </div>
    </li>
</script>

<script id="new-message" type="text/template">
    <li id="{{id}}" class="right clearfix">
        <div class="chat-body clearfix">
            <p>
                {{body}}
            </p>
        </div>
    </li>
</script>

</body>
</html>
我正在使用来自bootsnipp的模板,该模板经过稍微修改后仅显示名称和消息。
添加一个名为index.js的新文件,内容如下。记得添加 Pusher 应用详细信息:
      $(document).ready(function(){
    var pusher = new Pusher('APP_SECRET', {
        cluster: 'APP_CLUSTER',
        encrypted: false
    });

    let channel = pusher.subscribe('public-chat');
    channel.bind('message-added', onMessageAdded);

    $('#btn-chat').click(function(){
        const message = $("#message").val();
        $("#message").val("");

        $(".chat").append(template);

        //send message
        $.post( "http://localhost:5000/message", { message } );
    });

    function onMessageAdded(data) {
        let template = $("#new-message").html();
        template = template.replace("{{body}}", data.message);

        $(".chat").append(template);
    }
});
使用此文件中的代码,我们从页面获取要发送的消息,然后使用该消息调用服务器。之后,我们使用您之前设置的 App Secret 和 Cluster 创建一个新 Pusher 对象来连接到 Pusher。
我们订阅了一个名为message-added 的频道和事件。该频道是公共频道,因此您可以随意命名。我选择以 public- 作为前缀,但这只是我自己的惯例,因为公共频道没有规则。但是,私人频道以private-<
免责声明:本内容来源于第三方作者授权、网友推荐或互联网整理,旨在为广大用户提供学习与参考之用。所有文本和图片版权归原创网站或作者本人所有,其观点并不代表本站立场。如有任何版权侵犯或转载不当之情况,请与我们取得联系,我们将尽快进行相关处理与修改。感谢您的理解与支持!


请先 登录后发表评论 ~